
Article description: Learn how to set up an RTC module with your microcontroller through this easy-to-follow tutorial.
RTC setup tutorials help people learn how to use RTC (Real-Time Clock) modules with devices like Arduino and Raspberry Pi. These tutorials show how to connect the modules and write the code to make them work. Using an RTC is important for projects that need to keep track of time, like clocks and alarms. Keep reading to find out how to set up your RTC module easily!
Key Takeaway
- RTC modules like DS3231 and DS1307 are common choices for timekeeping projects.
- It’s important to connect the correct pins for proper function, like the SDA and SCL pins for I2C.
- Writing the right code is essential for setting the time and maintaining accuracy.
RTC Modules – Reliable Timers for Your Projects
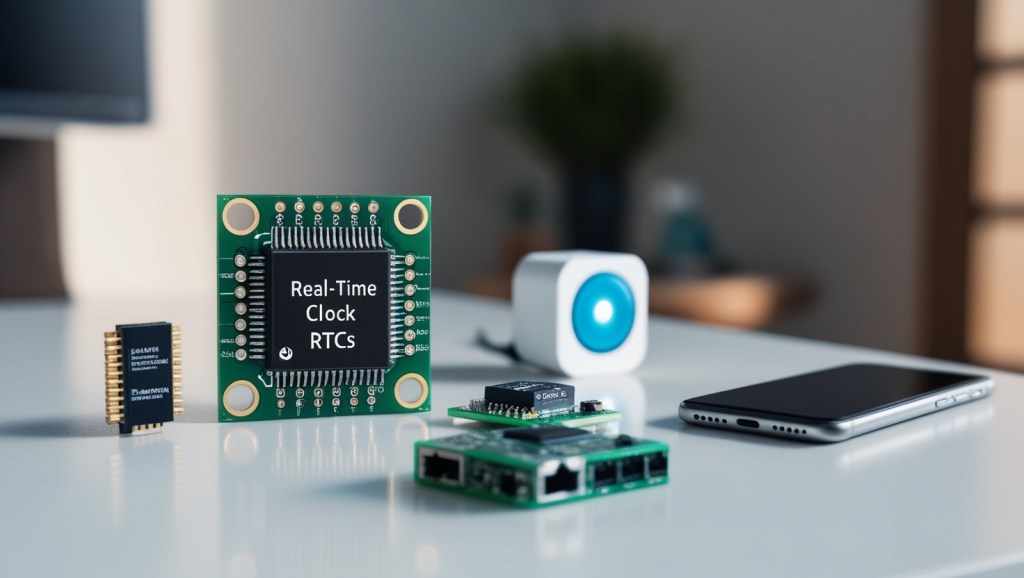
Source: Cooltronics
RTC (real-time clock) modules are handy devices that keep accurate track of time. They’re especially useful for projects where knowing the exact moment matters. Two popular options are the DS3231 and DS1307 RTC chips.
- RTCs keep time even when power’s off, using a small battery. This means they won’t lose the time if your project loses power.
- They work well with microcontrollers like Arduino and Raspberry Pi, making integration easy.
- The DS3231 is known for its precision. Hobbyists like it for clocks, timers and data logging where reliable time is important.
- Setting them up is straightforward. Libraries are available to simplify coding them into your projects.
Overall, RTC modules provide dependable timekeeping without complications. Whether you’re new to electronics or experienced, their user-friendly nature makes them perfect for keeping projects on schedule.
Connecting the Dots with Your RTC
Hooking up an RTC module correctly is important for getting accurate time data. Familiarize yourself with these common pins:
- VCC (power supply voltage)
- GND (ground/negative connection)
- SDA (data line for I2C communication)
- SCL (serial clock line for I2C timing)
- SQW (square wave output for timing functions)
- 32K (additional connection depending on needs)
For an Arduino Uno, follow these easy steps:
- Connect the VCC pin to the 5V pin on your Arduino board.
- Connect the GND pin to one of the GND pins.
- Connect the SDA pin to digital pin A4.
- Connect the SCL pin to digital pin A5.
- Optional – use SQW or 32K pins if your project calls for it.
Check all wires twice before powering up. A solid connection means reliable time data transfer between the RTC and your microcontroller code (1).
Now you’re set up for building all sorts of time-based gadgets, from clocks to data loggers.
Setting Up the Arduino IDE

After completing the wiring, the next step is to set up the Arduino IDE. This software is essential for writing the code that controls the RTC module. Here’s how to get started:
- Download the RTC Library: The first step is to download the necessary RTC library. This library simplifies communication with the RTC module. It includes useful functions to set the time and read it back easily. You can find libraries like “RTClib” on the Arduino website or through the Library Manager in the IDE.
- Open the Arduino IDE: Launch the Arduino IDE on your computer. If you don’t have it installed yet, you can download it from the official Arduino website.
- Create a New Project: Start a new project by selecting “File” and then “New.” This opens a blank sketch where you can write your code.
- Include the RTC Library: At the beginning of your code, include the RTC library. This is done by adding a line like #include <RTClib.h>. This line tells the IDE to use the functions from the RTC library.
- Set Up the RTC Object: Next, create an object for the RTC module. This is usually done with a line like RTC_DS3231 rtc; for the DS3231 module. This object will allow you to interact with the RTC.
- Initialize the RTC: In the setup() function, initialize the RTC. Use a line like rtc.begin(); to start communication with the module.
By following these steps, users can set up the Arduino IDE to work with the RTC module. This setup is crucial for writing code that will allow the module to keep accurate time and perform other functions. Once the IDE is ready, users can start coding their projects and enjoy the benefits of precise timekeeping.
Writing the Code
The next step is writing the code to set up the RTC. Here’s a simple starting point:
#include <Wire.h>
#include <RTClib.h>
RTC_DS3231 rtc;
void setup() {
Serial.begin(9600);
Wire.begin();
if (!rtc.begin()) {
Serial.println(“Couldn’t find RTC”);
while (1);
}
if (rtc.lostPower()) {
// Set the time if the RTC lost power
rtc.adjust(DateTime(F(__DATE__), F(__TIME__)));
}
}
void loop() {
DateTime now = rtc.now();
Serial.print(now.year(), DEC);
Serial.print(‘/’);
Serial.print(now.month(), DEC);
Serial.print(‘/’);
Serial.print(now.day(), DEC);
Serial.print(” “);
Serial.print(now.hour(), DEC);
Serial.print(‘:’);
Serial.print(now.minute(), DEC);
Serial.print(‘:’);
Serial.print(now.second(), DEC);
Serial.println();
delay(1000);
}
This code initializes the RTC and sets the time if it loses power. The loop continuously prints the current time to the Serial Monitor.
Setting the Time

Setting the time on the RTC module is a straightforward process. Users can easily adjust the time in the setup function of their code. Here’s how to do it:
- Modify the Setup Function: Instead of using the default compile date and time, users can set a specific date and time. This ensures that the RTC starts with the correct time.
- Use the Adjust Function: The line of code to set the time looks like this:
rtc.adjust(DateTime(2023, 10, 1, 12, 0, 0)); // Set to October 1, 2023, at 12:00:00 - Customize the Date and Time: In this line, users can replace the numbers with their desired year, month, day, hour, minute, and second. For example, if someone wants to set the time to March 15, 2024, at 8:30 AM, they would write:
rtc.adjust(DateTime(2024, 3, 15, 8, 30, 0)); // Set to March 15, 2024, at 08:30:00 - Accuracy Matters: Setting the time accurately helps keep the RTC running correctly. If the time is off, it can affect any projects that rely on precise timing.
By following these steps, users can ensure their RTC module starts with the right time. This simple adjustment is crucial for projects that depend on accurate timekeeping, making it easier to log data, trigger alarms, or manage schedules effectively (2).
Capturing Data with Timestamps
RTC modules are handy helpers for keeping track of data over time. Knowing the exact time is key when recording readings from sensors. Here are some ways RTCs can assist with data logging projects:
- Stamping Readings: Each measurement logged (like temperature) can be time-stamped by the RTC. This lets you see patterns in how things change throughout the day or week.
- Organizing Information: Timestamps make it easier to sort your data. For example, if humidity is checked hourly, you can spot trends over the full day.
- Project Examples: Here are some projects where logging with timestamps adds value:
- Weather stations: Track temp, humidity, and pressure with time of readings.
- Home monitoring: See energy or indoor climate patterns over time.
- Environmental sensors: Spot changes in conditions like air or soil.
- Programming Loggers: Code reads the RTC clock and records time alongside sensor values. Readings can be stored in arrays or to SD cards in a repeating loop.
By adding timestamps, RTC modules help turn simple measurements into insightful long-term data. This opens up lots of possibilities for useful home, science and hobby projects.
Alarm Functionality

Many RTC modules, such as the DS3231, come with built-in alarm functions. These features allow users to set alarms that can trigger actions at specific times. Here’s how to make the most of the alarm functionality:
- Setting the Alarm: Users can program the RTC to go off at a certain time. This is done by specifying the hour, minute, and even seconds for the alarm. The library used with the RTC will have functions to set these values easily.
- Triggering Actions: When the alarm time arrives, it can trigger various actions. For instance:
- Turning on an LED: The alarm can be set to activate an LED, making it a simple visual indicator.
- Sending a Signal: The RTC can send a signal to another device, like a microcontroller, to perform a task. This could be starting a motor or sending a notification.
- Checking the Library Documentation: To use the alarm feature effectively, users should check the library documentation for examples. This documentation often includes sample code that shows how to set the alarm and what actions to take when it goes off.
- Example Code: A typical setup might look like this:
- Set the alarm time using a function like rtc.setAlarm1().
- Define the action in the loop() function, checking if the alarm has triggered with something like rtc.alarmFired().
By utilizing the alarm functionality of RTC modules, users can create projects that respond to time-based events. This adds a layer of interactivity and automation, making projects even more engaging and useful.
Troubleshooting Common Issues
Setting up an RTC module can sometimes lead to issues. Here are a few common problems and their solutions:
- RTC Not Found: Check the wiring to make sure all pins are connected properly.
- Wrong Time Display: Ensure that the time is set correctly in the code. A common mistake is using the wrong format.
- Battery Issues: If the RTC loses time, the battery may need to be replaced. Make sure you use a good quality coin cell battery.
Summary of RTC Applications
RTC modules are versatile and can be used in various applications. They are great for:
- Building clocks or timers.
- Creating alarm systems for reminders.
- Logging data with accurate timestamps.
- Keeping time in projects that need it to function correctly.
Conclusion
In conclusion, setting up an RTC module is a straightforward process that involves wiring, coding, and testing. By connecting the right pins and writing the code, users can create accurate timekeeping projects. RTC modules like the DS3231 and DS1307 are excellent choices for beginners and experienced makers alike. With practice, anyone can master RTC setup and start creating time-aware projects.
FAQs
How do I connect the basic pins on my DS3231 RTC module to an Arduino board using jumper wires?
Connect SDA and SCL pins to A4 and A5 respectively on your Arduino board. The GND pin goes to ground, while the supply input needs a power source between 3-5V. The SQW pin and 32K pin are optional outputs. The module pinout is straightforward – just follow the labeled pins on your RTC chip.
What’s the role of the backup supply and battery input in keeping time during power loss?
The DS3231 RTC uses a 3V lithium coin cell for battery backup when main power is disconnected. This backup supply ensures your RTC data and current time settings remain intact, maintaining precision RTC timekeeping even without the power supply.
How can I use Arduino code to set time and create a digital clock with an LCD screen?
Load the RTC library and use a simple sketch to set January as month 1. The demo example shows how to read the time, current day, and current hour. You can display this on an LCD screen, choosing between 24-hour mode or 12-hour format for output.
What’s special about the DS3231 RTC’s features compared to the DS1302 RTC?
The DS3231 module includes a 32khz crystal for better accuracy and handles leap year calculations automatically. It has a built-in 24C32 EEPROM for data storage and supports alarm time functions. The I2C interface (I2C bus) makes communication simpler with fewer write cycles needed.
How do I use the serial data communication and alarm clock features?
The serial clock and serial data are managed through the I2C address. You can program alarm time settings and use the square wave output pin for timing functions. Many RTC libraries support these features on both Arduino Mega and standard Arduino boards.
What should I know before downloading and installing RTC libraries?
Look for a ZIP file containing RTC libraries that support your specific module. Arduino DS3231 examples often come with the package. Make sure you’re using compatible RTC libraries for your setup before setting the RTC time and date.
How do I verify my RTC module is keeping accurate time?
Check the current year and current hour readouts to verify proper timekeeping. The serial data output can help debug any timing issues. The DS3231 RTC’s precision and alarm clock time features make it reliable for long-term projects.


Leave a comment